10 Tips for Choosing the Best Laser Thermometer
Choosing the right Laser Thermometer is more difficult than pointing at a surface and pressing a trigger. A laser only marks the target. The infrared sensor measures emitted thermal energy. This distinction matters when inspecting a shiny stainless-steel pipe, a hot motor bearing, or a freezer gasket.
Industry demand is also becoming more specialized. Grand View Research’s 2024 infrared thermometer market report indicates continued market growth through 2030, driven by manufacturing, healthcare, building inspection, and energy applications. Fortune Business Insights reports similar expansion across industrial and commercial temperature-monitoring sectors. These reports suggest stronger demand, but growth does not guarantee better measurements.
Accuracy depends on more than the display specification. NIST temperature-measurement guidance emphasizes calibration, environmental control, and uncertainty evaluation. ASTM E1965 also provides performance requirements for non-contact infrared thermometers. Buyers should examine these details before trusting a low-cost device.
Read the fine print.
A narrow distance-to-spot ratio can miss a small overheating component. Incorrect emissivity settings can distort readings on polished metal. Steam, dust, reflected sunlight, and changing room temperatures can create further uncertainty. Even an expensive instrument can produce unreliable results when used carelessly.
This guide presents ten practical tips for selecting the best Laser Thermometer. It considers accuracy, temperature range, emissivity adjustment, response time, optical targeting, calibration evidence, durability, data logging, safety features, and long-term support. Some recommendations may seem obvious. They are still easy to overlook during a rushed inspection.
No instrument is perfect. The better question is whether its limitations match your work. A credible choice combines published test data, recognized standards, hands-on usability, and realistic expectations.
Understanding Laser Thermometer Measurement Principles
10 Tips for Choosing the Best Laser Thermometer
A laser thermometer does not measure the laser beam. The laser only shows where the infrared sensor is aimed. The sensor detects thermal radiation from a surface and converts it into a temperature reading. Emissivity matters greatly. Dark, matte materials usually give more reliable results than shiny metal. A reflective surface can return nearby heat, such as a person’s face or a hot pipe, and distort the reading.
Tip: Check the emissivity setting before measuring. Choose a model with an adjustable setting when inspecting mixed materials. Also examine its distance-to-spot ratio. At greater distances, the sensing area becomes larger. The target must fill that area. Otherwise, cooler surroundings may affect the result. I have seen readings change after moving only a few centimeters. That small difference is easy to overlook.
Tip: Consider the working environment. Steam, dust, strong sunlight, and cold airflow can reduce measurement reliability. Keep the lens clean, and allow the instrument to reach room temperature before use. For shiny metal, place matte tape on the surface and measure the tape after it reaches the same temperature. Compare unusual readings with a calibrated contact probe when accuracy matters. I still make mistakes. Sometimes I measure too quickly or stand at the wrong angle. Recording the surface, distance, and conditions can expose these errors and improve future checks.
10 Tips for Choosing the Best Laser Thermometer: Understanding Measurement Principles
Infrared thermometers estimate surface temperature from the thermal radiation emitted by an object. The laser is only an aiming guide; the infrared sensor performs the measurement. The chart below applies Wien’s displacement law, λmax = 2897.8/T, to show how an ideal blackbody’s peak emission shifts as temperature changes.
Practical Selection Tips
- Check the thermometer’s temperature range for your intended application.
- Choose a spectral response suitable for the target temperature and material.
- Match the distance-to-spot ratio to the required measurement area.
- Use an adjustable emissivity setting for different surfaces.
- Avoid measuring shiny surfaces without applying suitable high-emissivity tape or coating.
- Consider ambient temperature compensation when working in changing environments.
- Look for an accuracy specification that covers your actual temperature range.
- Use a model with a clear display and stored readings for field inspections.
- Allow the instrument to acclimatize before measuring large temperature differences.
- Keep the lens clean and measure perpendicular to the target whenever possible.
Important: The displayed temperature depends on emissivity, reflected infrared radiation, atmospheric conditions, and the size of the measurement spot. For safety-critical or regulated measurements, verify readings with a calibrated contact sensor.
Identifying the Right Temperature Range and Accuracy
Choosing the right laser thermometer starts with its temperature range, not its appearance. Match the stated range to your real working conditions. A kitchen surface may need only moderate coverage, while an industrial furnace requires much higher limits. Never measure beyond the manufacturer’s specified range.
Accuracy deserves closer attention. A device rated at ±2°C can display a precise-looking number that remains wrong. Check the accuracy statement across the temperatures you actually measure. Some models perform differently near their upper limit. Resolution is not accuracy. A screen showing 0.1°C does not guarantee that level of truth.
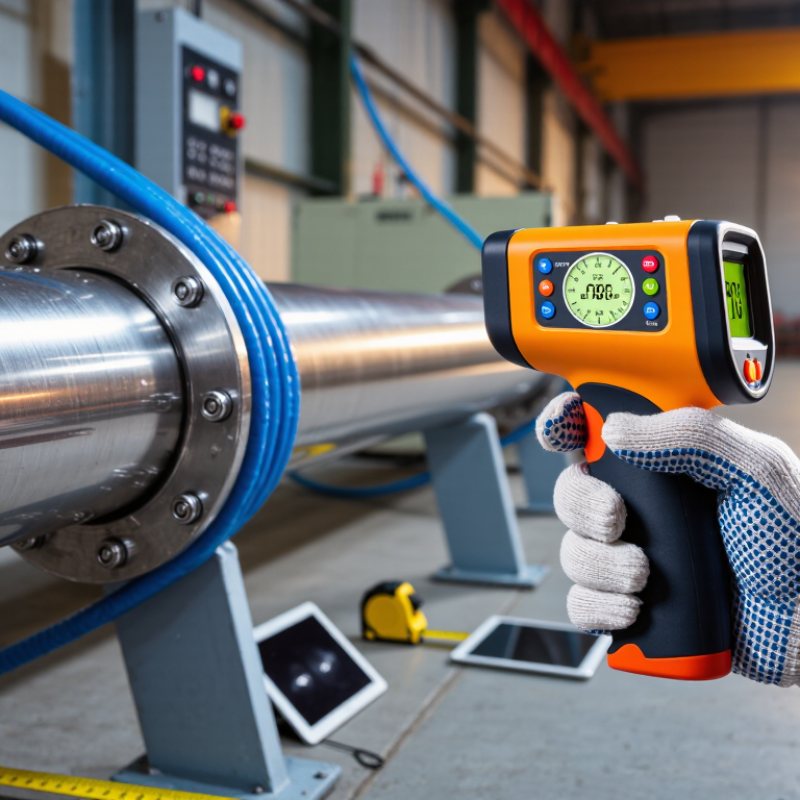
I once measured a shiny metal pipe and received an unexpectedly low reading. The surface reflected surrounding heat, so the result was misleading. Matte tape or a suitable surface treatment can improve readings, when safe and appropriate. Steam, dust, glass, and changing airflow may also interfere. Keep the sensor steady and follow the distance-to-spot ratio. A small target needs closer positioning.
Calibration history matters. Ask whether the instrument includes a traceable calibration record and how often verification is recommended. Store it away from heat and moisture. Batteries can weaken performance too. I would also test it against a trusted reference before important measurements. That extra check takes time, but ignoring it can cost more.
Comparing Emissivity Settings and Surface Compatibility
10 Tips for Choosing the Best Laser Thermometer
Comparing Emissivity Settings and Surface Compatibility
A laser thermometer is only as reliable as its emissivity setting and target surface. The laser shows aim, not temperature. Matte black paint often has an emissivity near 0.90–0.95, while polished stainless steel may fall near 0.07–0.30. These values vary with oxidation, angle, and surface condition. Do not trust the factory default automatically. That shortcut fails.
51%
The U.S. Department of Energy’s 2022 Industrial Decarbonization Roadmap identifies process heating as responsible for about 51% of manufacturing energy use.
37%
The IEA’s Energy Efficiency 2023 report also estimates that industry used roughly 37% of global final energy in 2022.
Small measurement errors can therefore affect costly decisions. Choose a thermometer with adjustable emissivity, clear documentation, and a suitable distance-to-spot ratio. For shiny metal, apply high-emissivity tape or measure a coated reference area. Glass is troublesome because it can reflect nearby heat and may not reveal the temperature behind it.
Steam, dust, and curved surfaces can distort readings too. Check compatibility before trusting the number. I still verify critical readings with contact probes. It is slower. It is safer.
ASTM E1933 and ISO 18434-1 both emphasize controlled measurement conditions, yet real workplaces remain imperfect. That limitation deserves attention.